Healthy Pregnancy: Maintaining Strength Part II/II
In Part II of this blog, we are simply adding another 5 poses or exercises to the previous ones which especially target the glutes and back. A big thank you to Pepa Yepes for taking the pictures! You can see her work on her website, Facebook page and on Instagram (pepayepes).

6 - Come onto all fours, hands under the wrists and knees under the hips, arms straight. Take your right leg back, flexing the foot so that your toes are pointing down, hug your baby in and reach your left arm out in front. Hold for 3 breaths and change side. Alternate another time (or more if you wish) on each side.
Before moving on to the next pose, you might want to stretch the top of your wrists: sit back onto your heels, place the back of your hands on either side of your knees or slightly in front, fingers pointing back. Hold for 5 breaths or longer.

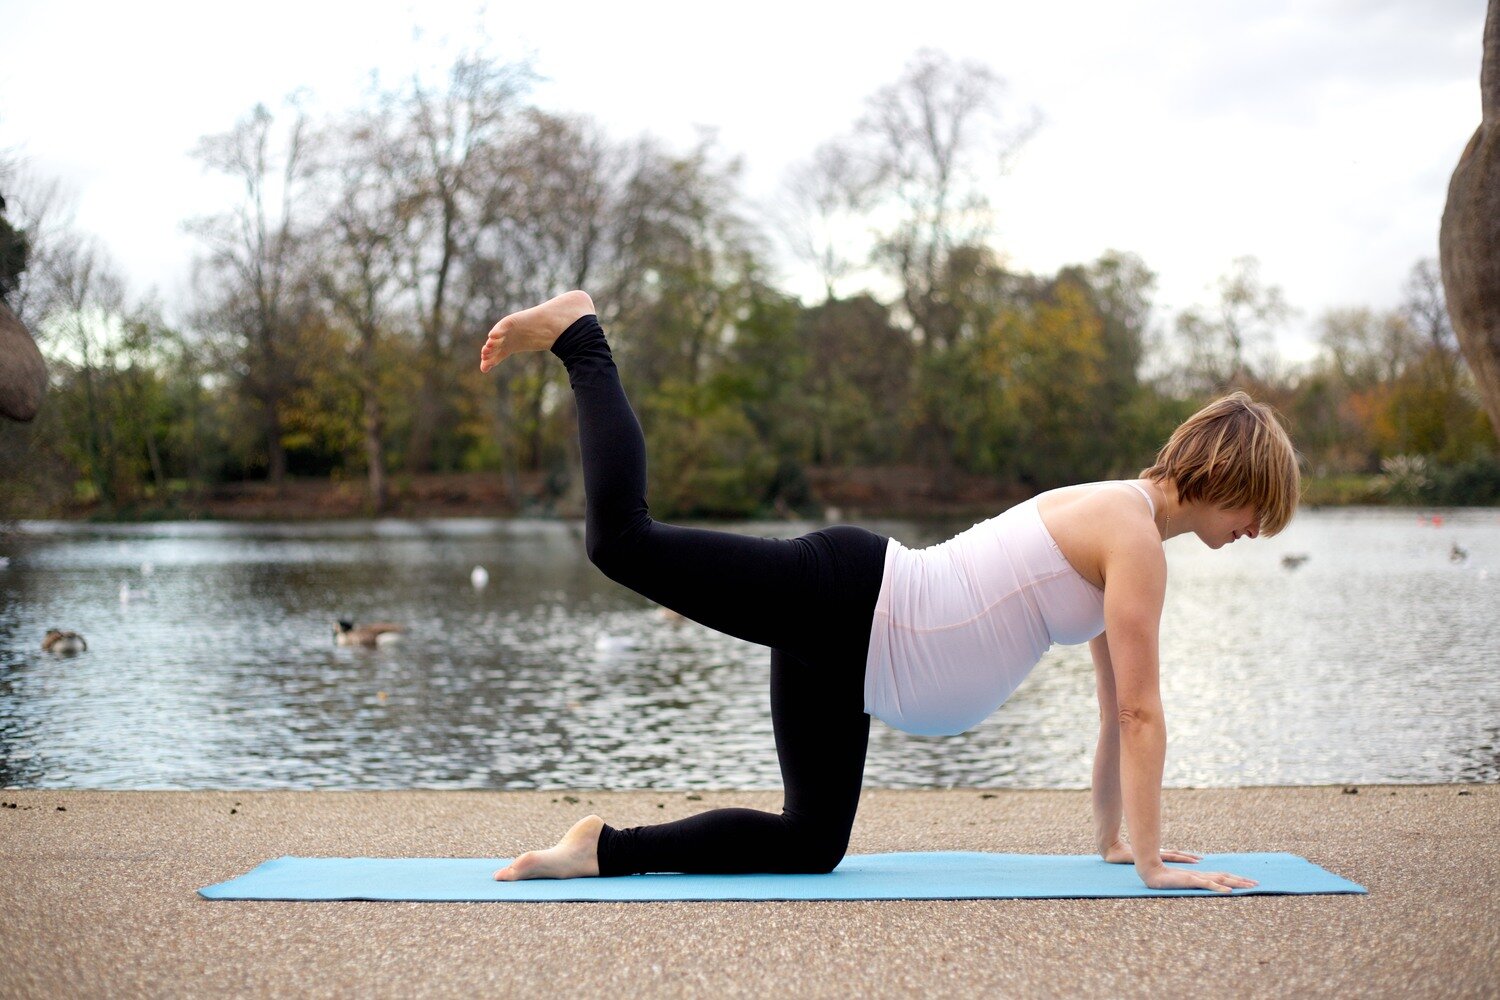
7 - Return to your all fours position and take your right leg back, foot flexed and toes pointing down. Now bend your right knee to create a 90 degree angle, thigh parallel to the floor and shin perpendicular. The sole of your foot will now be facing the ceiling or sky. Have a little look to check your alignement if you so feel inclined and begin to pulse, reaching the heel up and then only so slightly down. You should aim to return your thigh parallel to the floor but not any lower. Pulse between 20 and 30 times on one side and switch. Do up to 3 series if you have the energy!
Take a moment to stretch the top of your wrists again as suggested above, then sit on one side of your feet, sweep your legs around and give them a little shake.
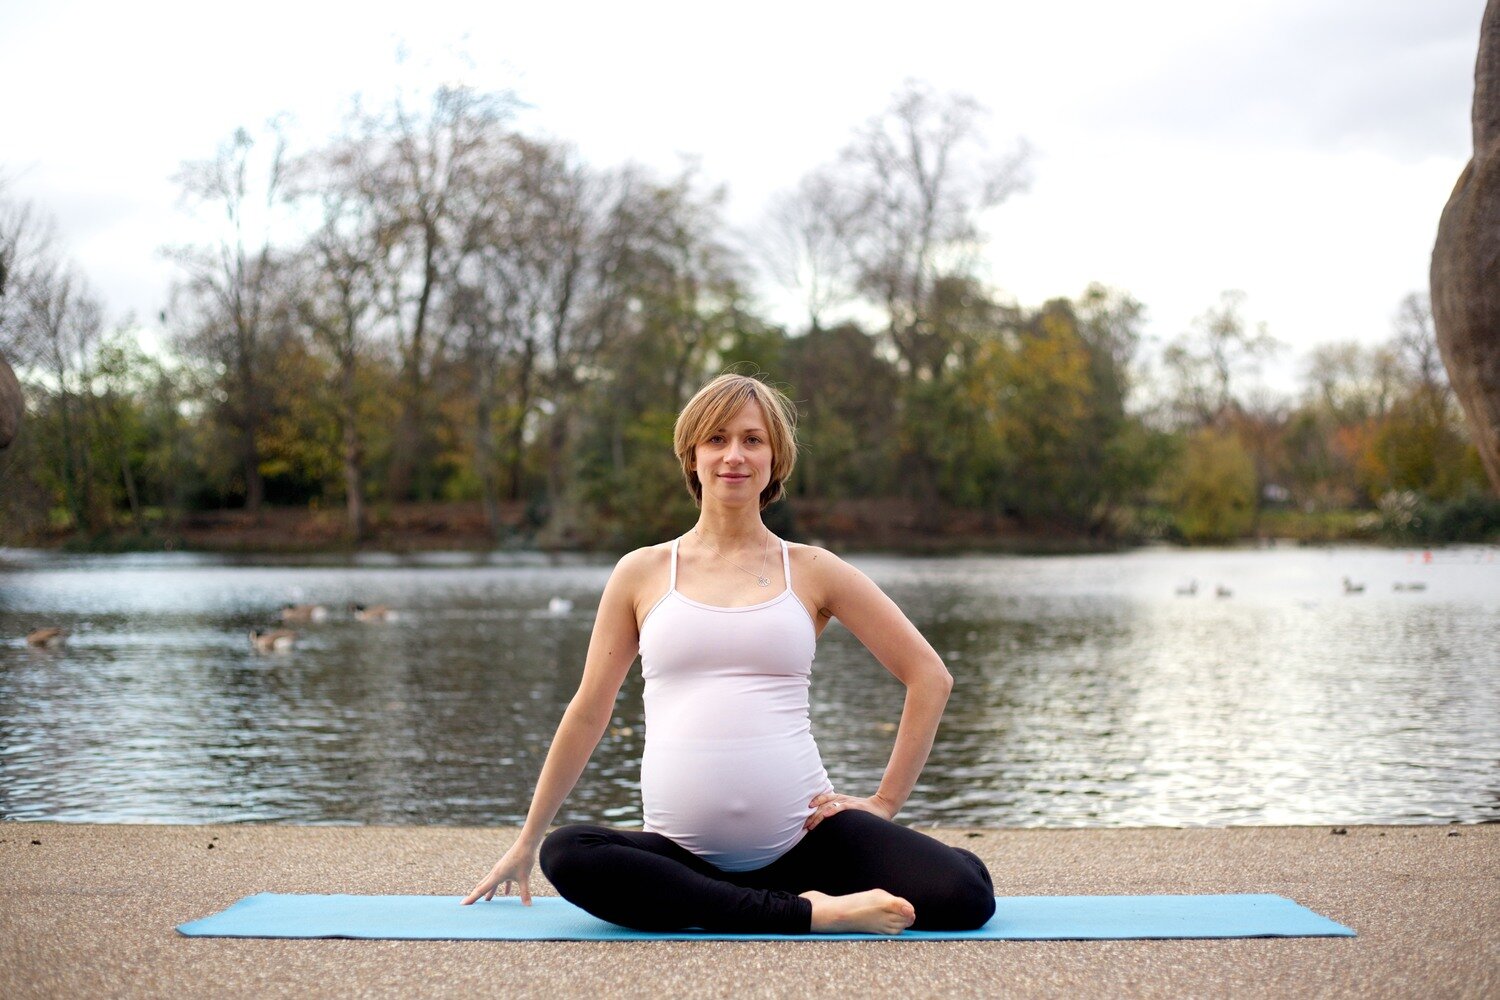
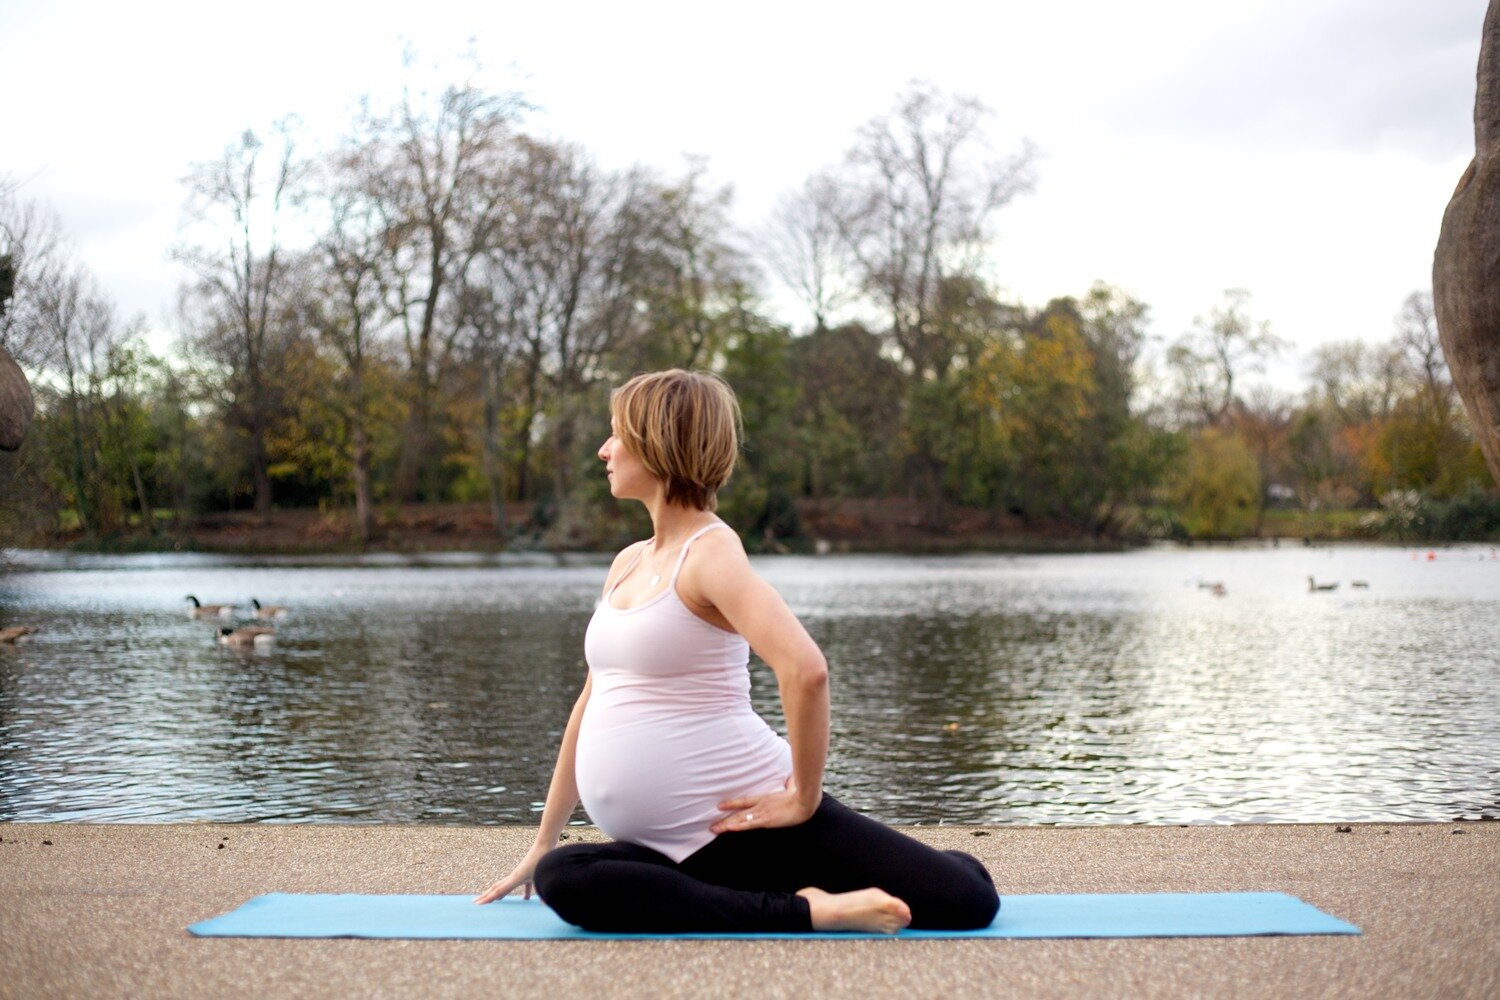
8 - Come into Mermaid pose as follows: from sitting with your legs out in front, roll over your right hip and bend your left leg so as to bring your foot by your left hip,. The top of your foot will be in contact with the floor and your knee will point forward. Next bring your right shin across your mat, knee opening to the side and your toes touching your left knee. The sole of your foot should face your pelvis.
Once you have positioned your legs in this sort of zigzag shape, place your right hand on the floor by your right hip and your left hand on your left hip bone. Inhale, and as you exhale, begin to press the top of your left foot onto your mat and rotate your chest to the right. Your left bum cheek will lift and contract. Inhale as you return to the starting position. Repeat 10 to 20 times and switch side.
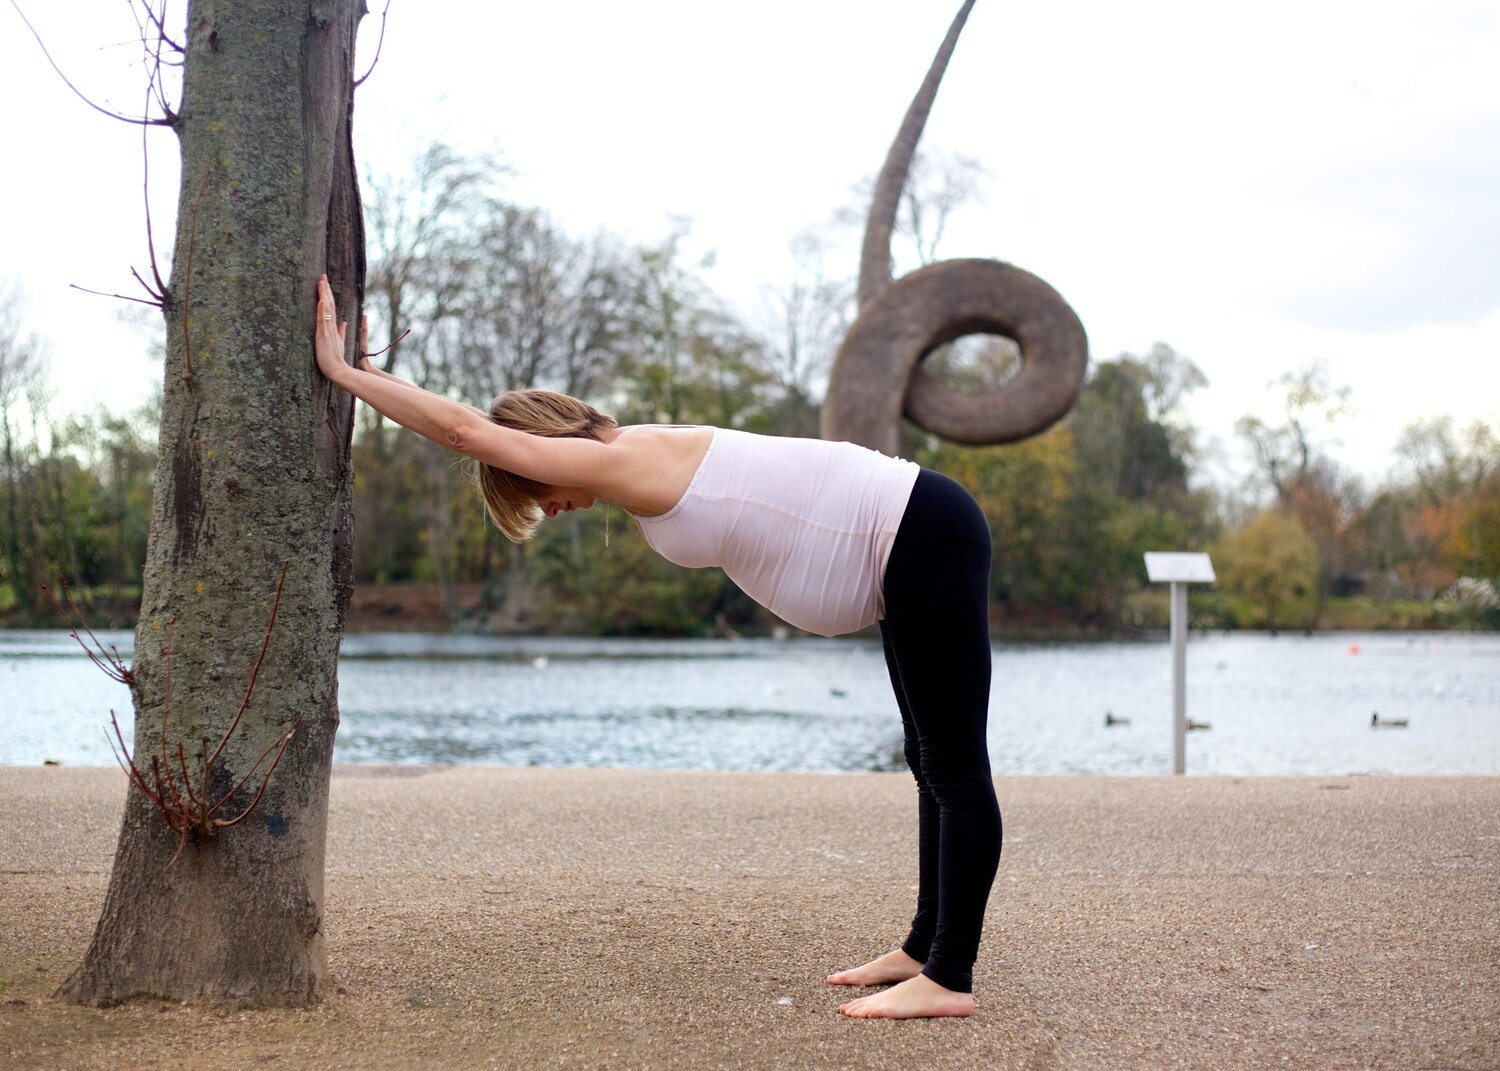
9 - Downward Dog against the wall: face the wall at about arms' length and feet slightly wider apart than your hips to make room for your bump. Bend your knees a little as you start to walk your hands down the wall to position your upper body parallel to the floor. You will find yourself in a tilted L- position: your hands, shoulders and hips should be aligned and your hips should be above your feet. If you are comfortable straightening your legs fully for a deeper hamstring stretch, do so on an exhalation. Gently hug your baby in to maintain a long back and hold for 10 breaths.
To come out of the pose, soften your knees, walk your feet closer to the wall and your hands up. Then lightly push the wall away to bring yourself all the way up. Take a few rounds of breaths before moving to our last pose.

10 - Warrior III: return to the previous pose and lift your left leg behind you, foot flexed and toes pointing down. Your back leg should be horizontal and no higher. Depending on your level of flexibility, your supporting leg can either be slightly bent or straight and make sure your knee is facing forward. Hold for 5 deep breaths, release and change leg.
Either come to rest in Savasana lying onto your back if it feels comfortable with a support across the back of your knees (not recommended after 30 weeks) or lie on your left side with a pillow under your head and another one between your knees.